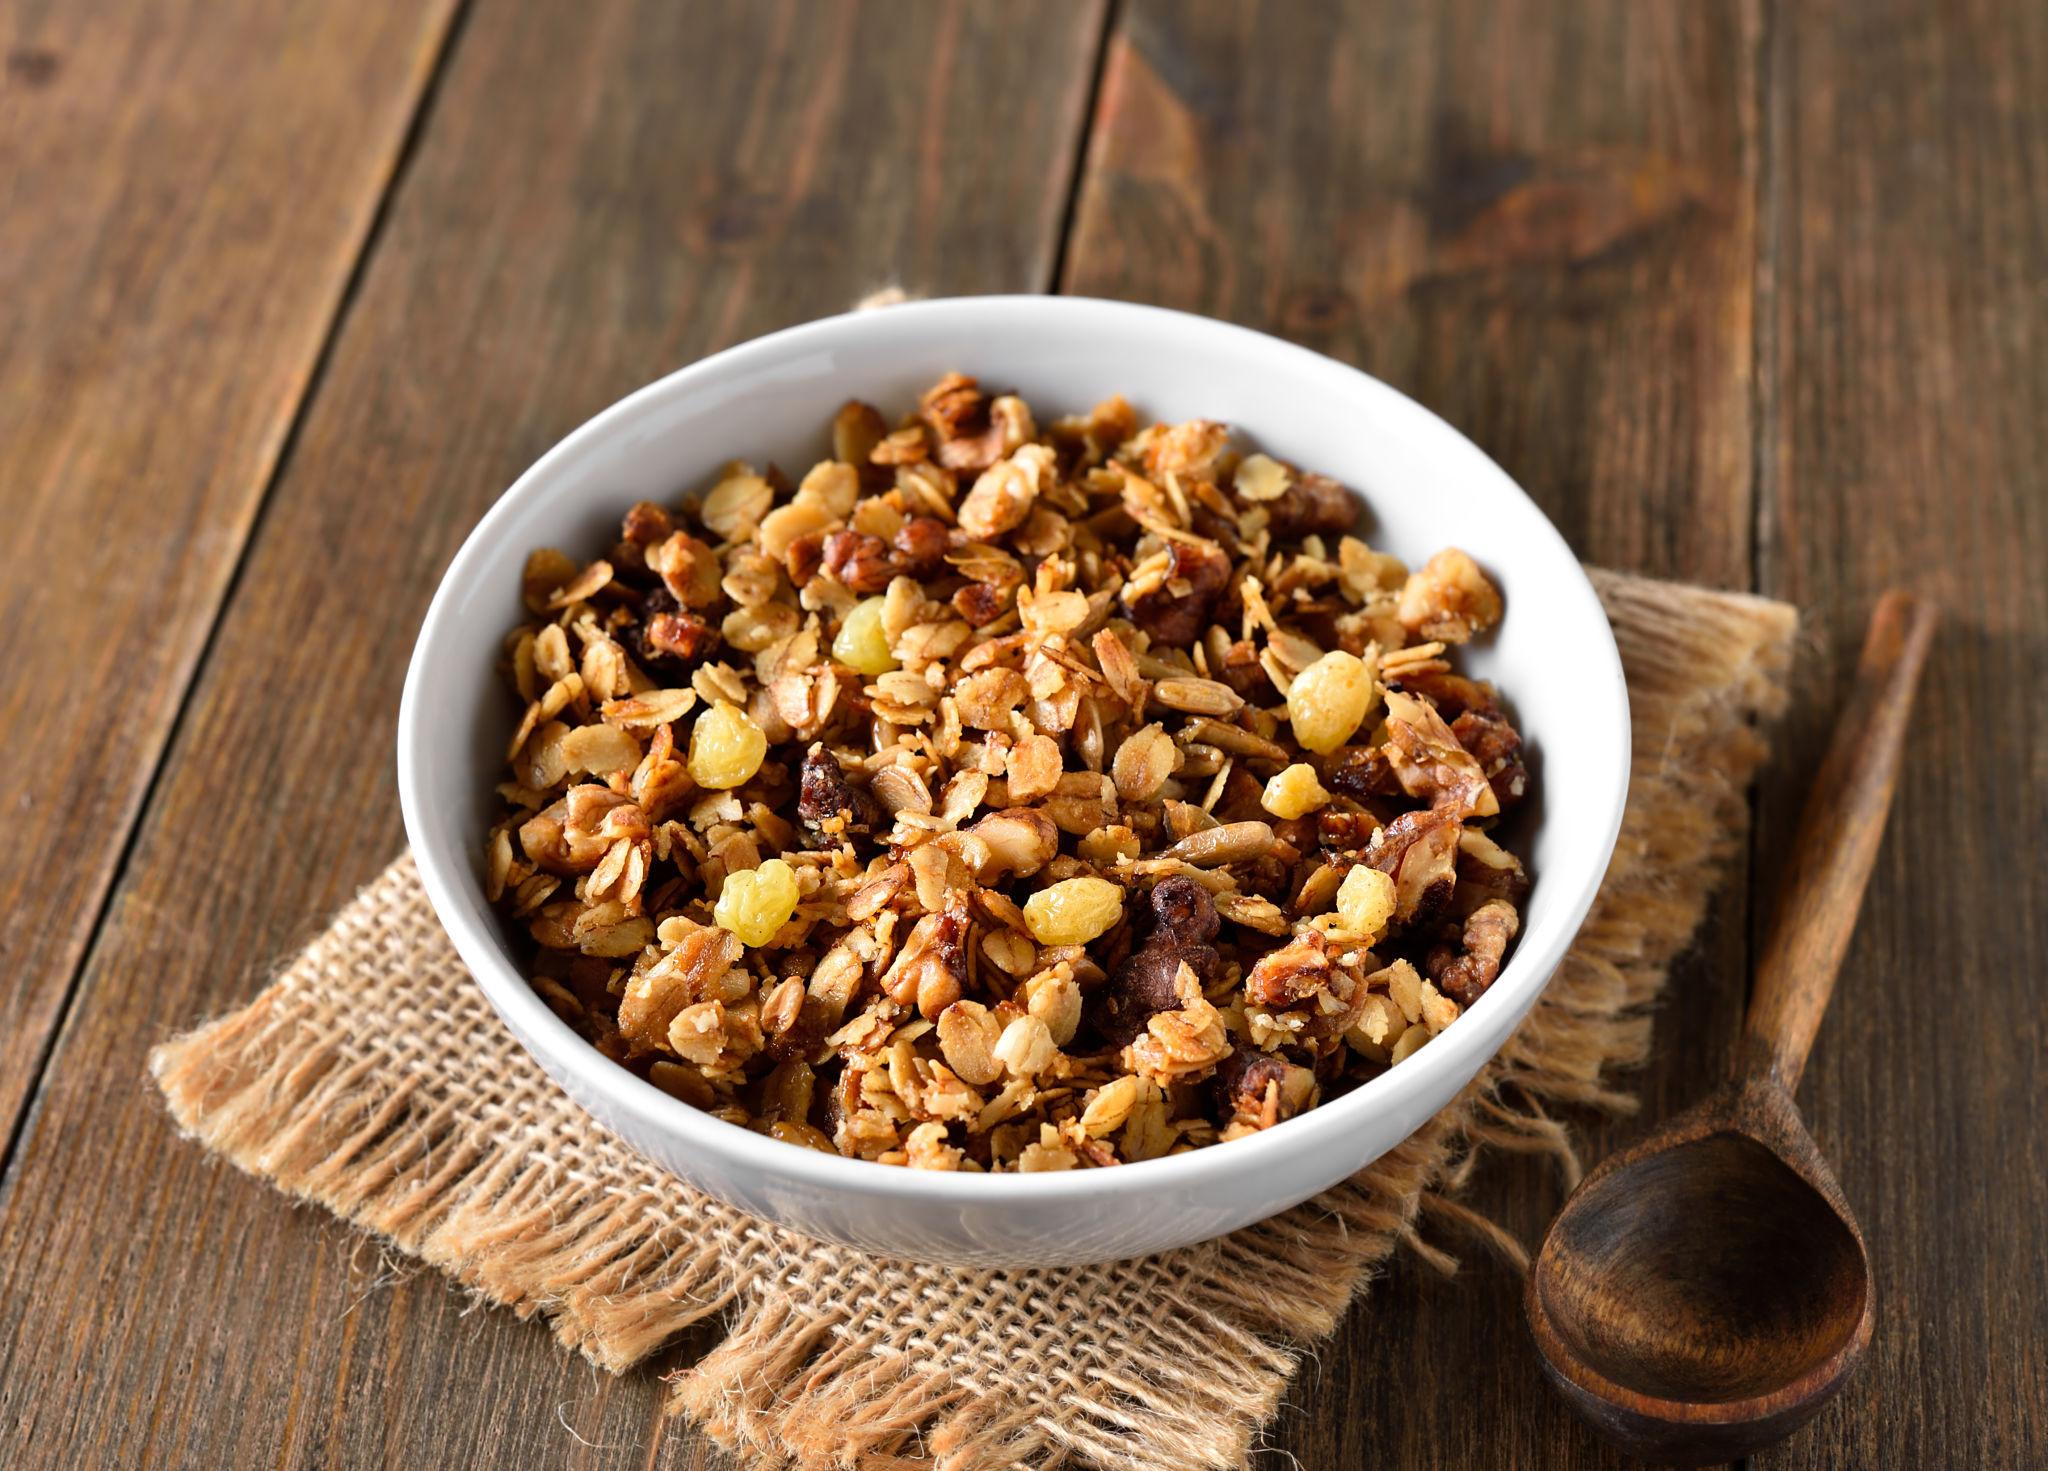
There are few breakfasts as satisfying as a bowl of crunchy, golden granola.
The problem? Store-bought granola can be surprisingly expensive, and some varieties are packed with more sugar than you might expect. Homemade granola, on the other hand, is inexpensive, easy to customize, and fills your kitchen with the kind of warm, toasty smell that makes everyone wonder what you're baking.
The best part is that you don't need fancy equipment or complicated ingredients.
With a few basic pantry staples, you can make granola that's crunchy, nutty, lightly sweet, and completely customized to your taste.
Here's a simple recipe that may convince you to stop buying granola altogether.


Why Make Granola at Home?
Homemade granola gives you control over almost everything.
You decide:
- How sweet it is
- Which nuts you use
- How crunchy it becomes
- Which dried fruits you add
- What spices go into it
- How much oil or butter you use
- Whether you want large crunchy clusters or loose granola
It's also a great way to use ingredients you already have in your pantry.
Have some leftover almonds? Add them.
A half-empty bag of pumpkin seeds? Perfect.
A jar of honey that's been sitting around for months? This is its moment.
The Basic Granola Formula


A great granola doesn't require a strict recipe.
Think of it as a simple formula:
Oats + nuts/seeds + sweetener + fat + flavor = granola
For a reliable starting point, gather:
Dry ingredients
- 3 cups rolled oats
- 1 cup chopped nuts
- ½ cup seeds
- ½ teaspoon cinnamon
- ¼ teaspoon salt
Wet ingredients
- ⅓ cup honey or maple syrup
- ¼ cup neutral oil or melted coconut oil
- 1 teaspoon vanilla extract
Optional additions
- Dried cranberries
- Raisins
- Coconut flakes
- Chocolate chips
- Chopped dates
- Sesame seeds
- Pumpkin seeds
The beauty of homemade granola is that there isn't one "correct" combination.
Step 1: Mix Your Dry Ingredients
Preheat your oven to 160°C / 325°F.
Add your rolled oats, nuts, seeds, cinnamon, and salt to a large mixing bowl.
Stir everything together until evenly combined.
Try to use old-fashioned rolled oats rather than quick-cooking oats. Rolled oats generally give homemade granola a better texture and more satisfying crunch.
If you're using large nuts, chop them into smaller pieces so they distribute more evenly throughout the mixture.
Step 2: Make the Sweet Mixture
In a small bowl, mix together the honey or maple syrup, oil, and vanilla.
If your honey is very thick, warming it slightly can make it easier to mix.
The sweetener doesn't just add sweetness. It also helps the granola develop that beautiful golden color as it bakes.
You can adjust the amount depending on your preference.
Want less-sweet granola?
Use slightly less sweetener.
Want something closer to a dessert-style granola?
Add a little more.
Step 3: Combine Everything
Pour the wet mixture over the oats and nuts.
Now comes an important step:
Mix thoroughly.
Every oat should have at least a light coating of the sweetener and oil mixture.
Use a large spoon or spatula and keep stirring until there are no obviously dry patches.
Don't worry if the mixture looks slightly sticky.
That's exactly what you want.
Step 4: Spread It Out Properly
Line a large baking sheet with parchment paper.
Pour your granola mixture onto the sheet and spread it into an even layer.
If you want large crunchy clusters, press the mixture down firmly with the back of a spatula.
If you prefer loose, crumbly granola, spread it out more loosely.
This small step makes a surprisingly big difference in the final texture.
Step 5: Bake Low and Slow


Bake the granola at 160°C / 325°F for roughly 25–35 minutes.
But don't walk away completely.
Granola can go from beautifully golden to burnt surprisingly quickly.
After about 15 minutes, gently stir it if you want evenly toasted granola.
If you're trying to create large clusters, avoid stirring too much.
Watch the color rather than relying only on the clock.
You're looking for a light golden brown appearance.
It may still feel slightly soft when you remove it from the oven.
That's normal.
Step 6: Let It Cool Completely
This might be the hardest part.
Don't immediately start eating it.
As granola cools, it becomes crispier.
If you want those delicious crunchy clusters, let the granola cool completely on the baking sheet before breaking it apart.
Once it's cool, add ingredients that you don't want to bake.
This is the perfect time to mix in:
- Chocolate chips
- Dried fruit
- Coconut flakes
- Freeze-dried fruit
Adding these after baking helps prevent them from becoming overly hard or burnt.
The Secret to Extra-Crunchy Granola


If crunchy clusters are your goal, there are three simple tricks.
1. Don't make the mixture too dry
The sweetener and oil help bind everything together.
2. Press it down
Firmly pressing the mixture onto the baking sheet encourages clusters to form.
3. Don't stir constantly
Too much stirring breaks up the clusters before they have a chance to set.
Once the granola is completely cool, break it into whatever size pieces you like.
How to Customize Your Granola
One basic recipe can become dozens of different versions.
For a classic combination
Try almonds, cinnamon, honey, and raisins.
For a tropical version
Use coconut flakes, cashews, and dried pineapple.
For chocolate lovers
Add cocoa powder to the dry mixture and stir in chocolate chips after baking.
For a fall-inspired version
Use pecans, cinnamon, a little nutmeg, and maple syrup.
For a nut-free version
Replace the nuts with pumpkin seeds, sunflower seeds, and extra oats.
Don't be afraid to experiment.
Granola is one of those recipes where small changes rarely ruin the entire batch.
Easy Ways to Eat Homemade Granola
You don't have to eat it from a bowl with milk.
Try it:
With yogurt:
Layer yogurt, granola, and fresh fruit for an easy breakfast.
With fresh berries:
Add strawberries, blueberries, or bananas for a simple snack.
Over smoothie bowls:
Granola adds much-needed crunch to a creamy smoothie bowl.
As a snack:
Grab a handful when you want something crunchy.
With warm milk:
Treat it like a more interesting version of cereal.
Over ice cream:
A little homemade granola can turn plain ice cream into a surprisingly good dessert.
How to Store It
Once completely cool, transfer the granola to an airtight container.
Keep it somewhere cool and dry.
Avoid storing it while it's still warm because trapped moisture can make it lose its crunch.
If you've made a large batch, divide it into smaller containers so you don't repeatedly expose the entire batch to air.
The Best Part: Make It Yours
The biggest advantage of homemade granola isn't that it's necessarily healthier or cheaper in every situation.
It's that you control the recipe.
You can make it sweeter or less sweet. Add more nuts. Skip the coconut. Use honey instead of maple syrup. Make huge crunchy clusters or tiny crispy pieces.
Once you've made it a few times, you probably won't even need to measure everything precisely.
You'll simply look at what's in your pantry and think:
"That would probably make excellent granola."
And that's when you've officially mastered it.
Final Thought
Homemade granola is one of those recipes that looks much more complicated than it actually is.
Mix your ingredients, spread them onto a baking sheet, bake until golden, let everything cool, and enjoy.
The result is crunchy, fragrant, customizable granola that tastes fresh because you just made it fresh.
And once you smell that first batch coming out of the oven, the store-bought stuff may have a hard time competing. 🥣✨